
 I would like to begin by saying, I consider myself a fairly capable knitter. I can read a pattern, my stitches are even, and I can occasionally knit without looking, detecting by touch if something goes awry. I am by no means a “lady expert,” as Miss H. Burton, author of The Lady’s Book of Knitting and Crochet (1875), claims to be, but I’m competent. I admit that my “skills” have been bolstered by the existence of the internet. If I can’t quite visualize a new stitch, I can turn to YouTube and watch someone else doing it until I have mastered it. If that doesn’t work, there are dozens of knitting blogs with step-by-step tutorials, tips, and tricks to guide me through. This makes knitting much more approachable, and I have been advancing in this manner for the better part of the last five years.
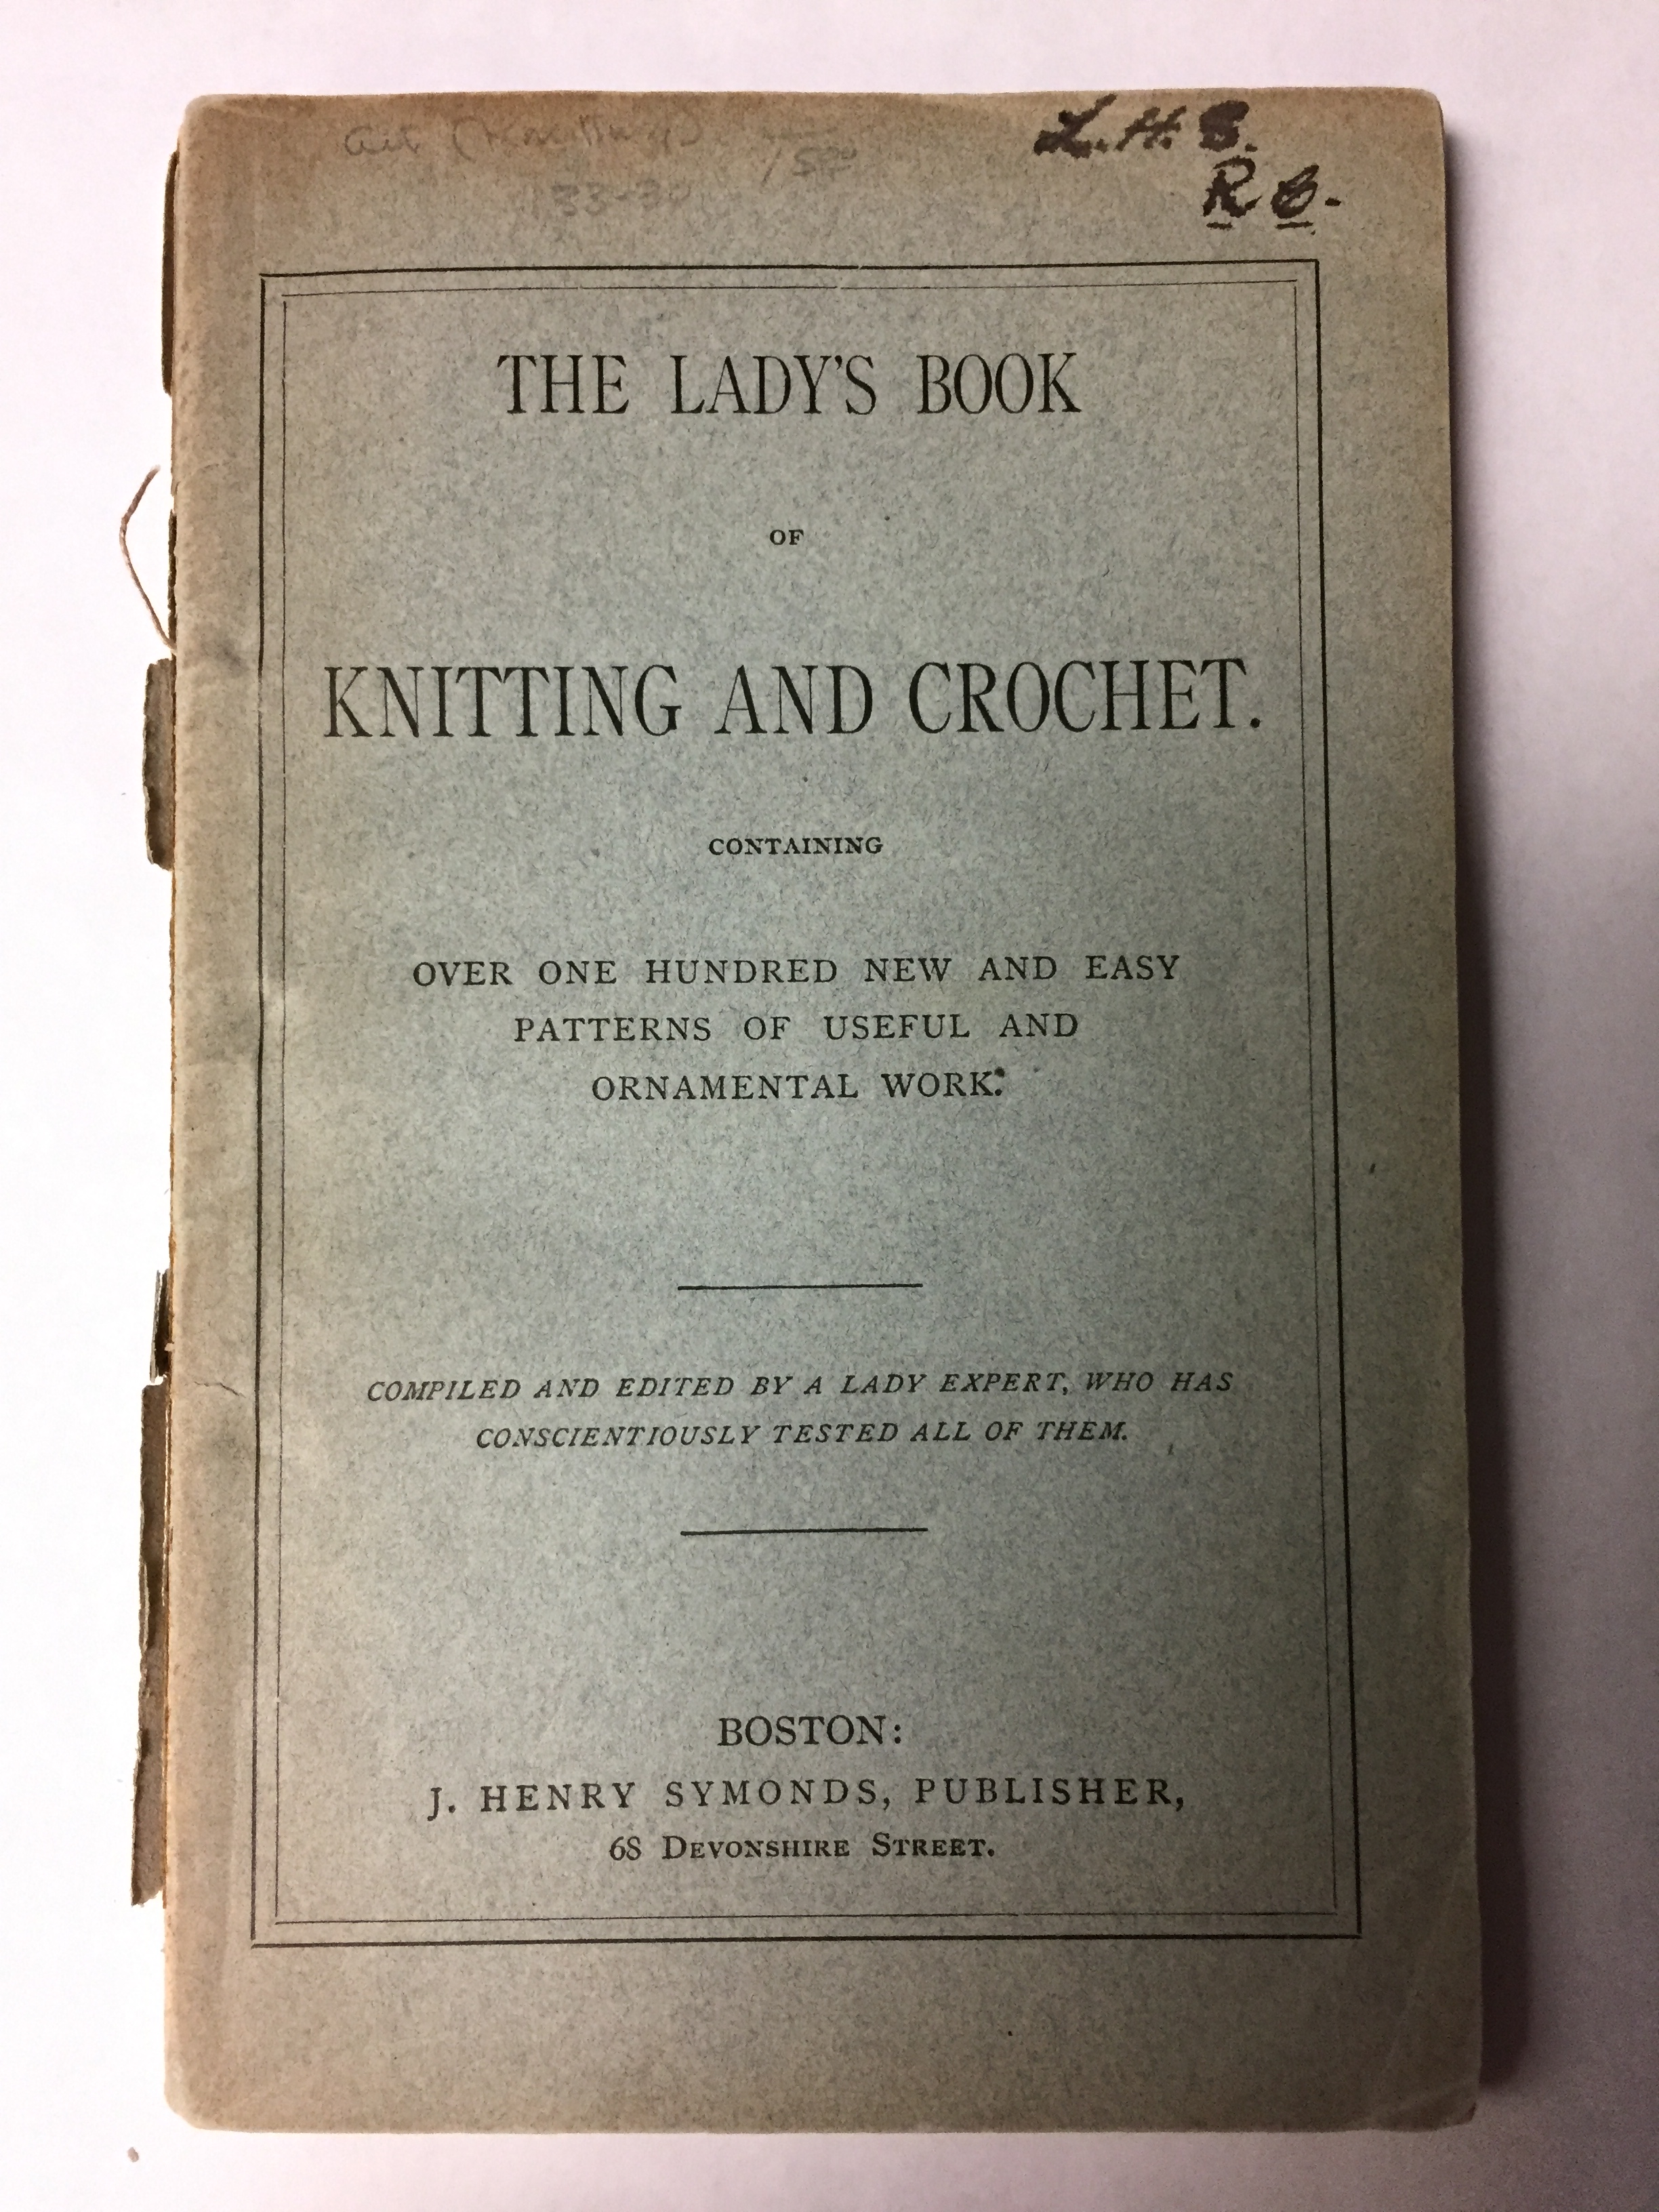
With this in mind, I thought it might be fun to consult one of the nineteenth-century knitting books in the AAS collection and try to follow one of the patterns without my modern training wheels. The challenge here lies in the complete lack of visual aids and the reliance on the written pattern and explanations in the book. Not only are the descriptions of the stitches limited (and inconsistent—but we’ll come back to that), but there are no pictorial representations of what the completed pattern should look like. I selected a pattern that had a descriptive title and a recommendation of what needles and yarn to use so that I could at least get an impression of what the end product may be. I planned to do this without my trusted YouTube or Google, though I allowed myself the modern luxury of electric light to knit by. (Full disclosure, at one point I did consult an outside text to confirm I was doing something correctly. I was correct, so there was really no need to doubt myself and cheat a little, but in the moment I panicked.)
While many librarians may be more skeptical at this point in their careers, I am still generally trusting of promises made by books. I chose The Lady’s Book of Knitting and Crochet to guide me through this experiment because it held the promise of “over one hundred new and easy patterns…compiled and edited by a lady expert who has conscientiously tested all of them” [emphasis added]. I like a challenge but also I wanted to keep this as frustration-free as possible, and who could resist that sort of guarantee?

A quick scan of the book revealed that some of these patterns were scant, to put it generously, but my first real warning should have come when I discovered that there was a section on crochet terms but not knitting ones. Well that’s fine, I have a good base knowledge of knitting terms, I thought. But then I got into the pattern itself…
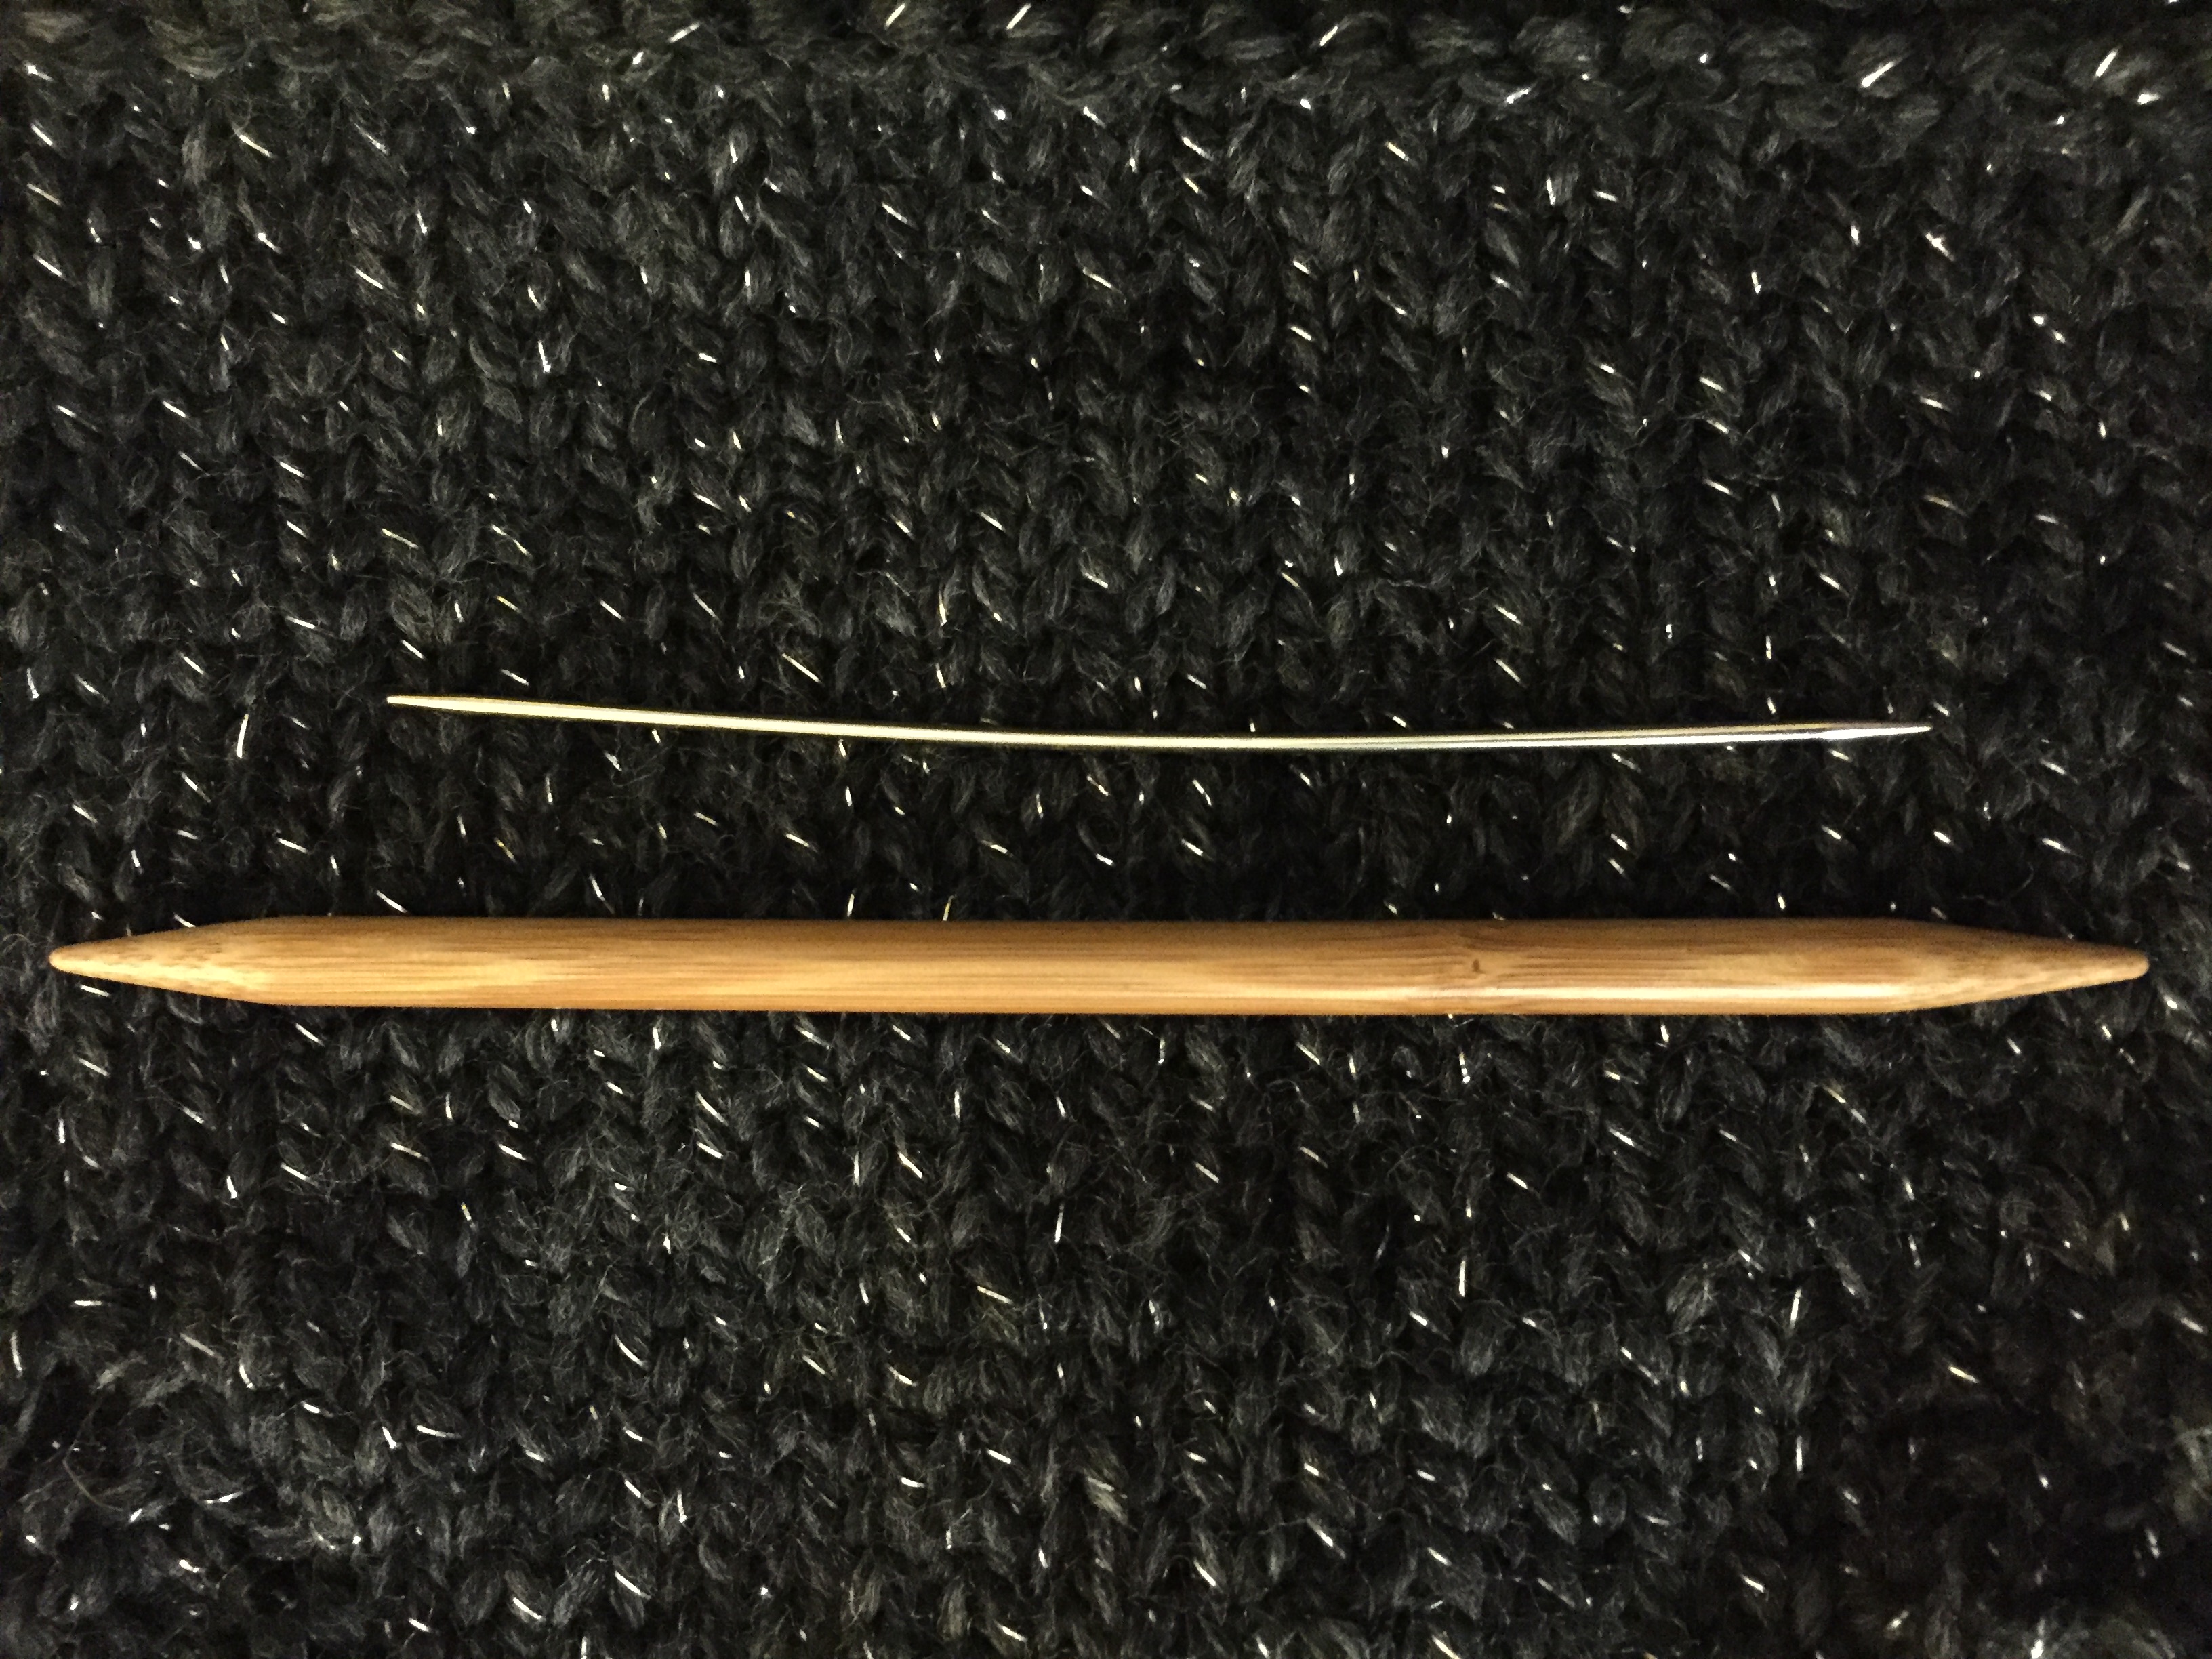
The “lady expert” author recommends using a coarse cotton and no. 13 “pins” to complete this pattern, a decorative rose-bud patterned edge. Size 13 needles sounded surprisingly large, especially given the delicate weight of the cotton. I sized down the needles and doubled the cotton strand and still something seemed amiss. Certainly this would knit up quickly but it would be a huge boarder edge—almost the size of a washcloth in and of itself. That’s when I remembered that British (and “Old” U.S.) needles were on a different measurement scale. I knew it couldn’t be metric, 13 mm would still be too large, and thus my Google dependence deepened, my second cheat for a seemingly simple pattern.
I discovered that British and “Old” U.S. needles were based on wire gauges and count down, with 1 representing the largest size. Modern U.S. needles do the exact opposite and count up, with 1 being among the smallest needles, because nothing asserts independence like doing the exact opposite of what your parents say. An “Old” U.S. 13 is about a 1 in modern U.S. gauging—a fairly extreme difference when trying to follow a pattern (see image below). America switched to the present system in the 1950s but it is difficult to find reliable sources clarifying the reason for the change.
Once I got going, it quickly became clear that needle sizing was not going to be my only source of confusion. Maybe it would have helped if other people had tested the author’s patterns. I often find that, when writing recipes, knitting patterns of my own, or really any sort of instruction, it helps to have someone else take a look to make sure they can interpret what made complete sense in my own head. I know what I was going for…does anyone else?
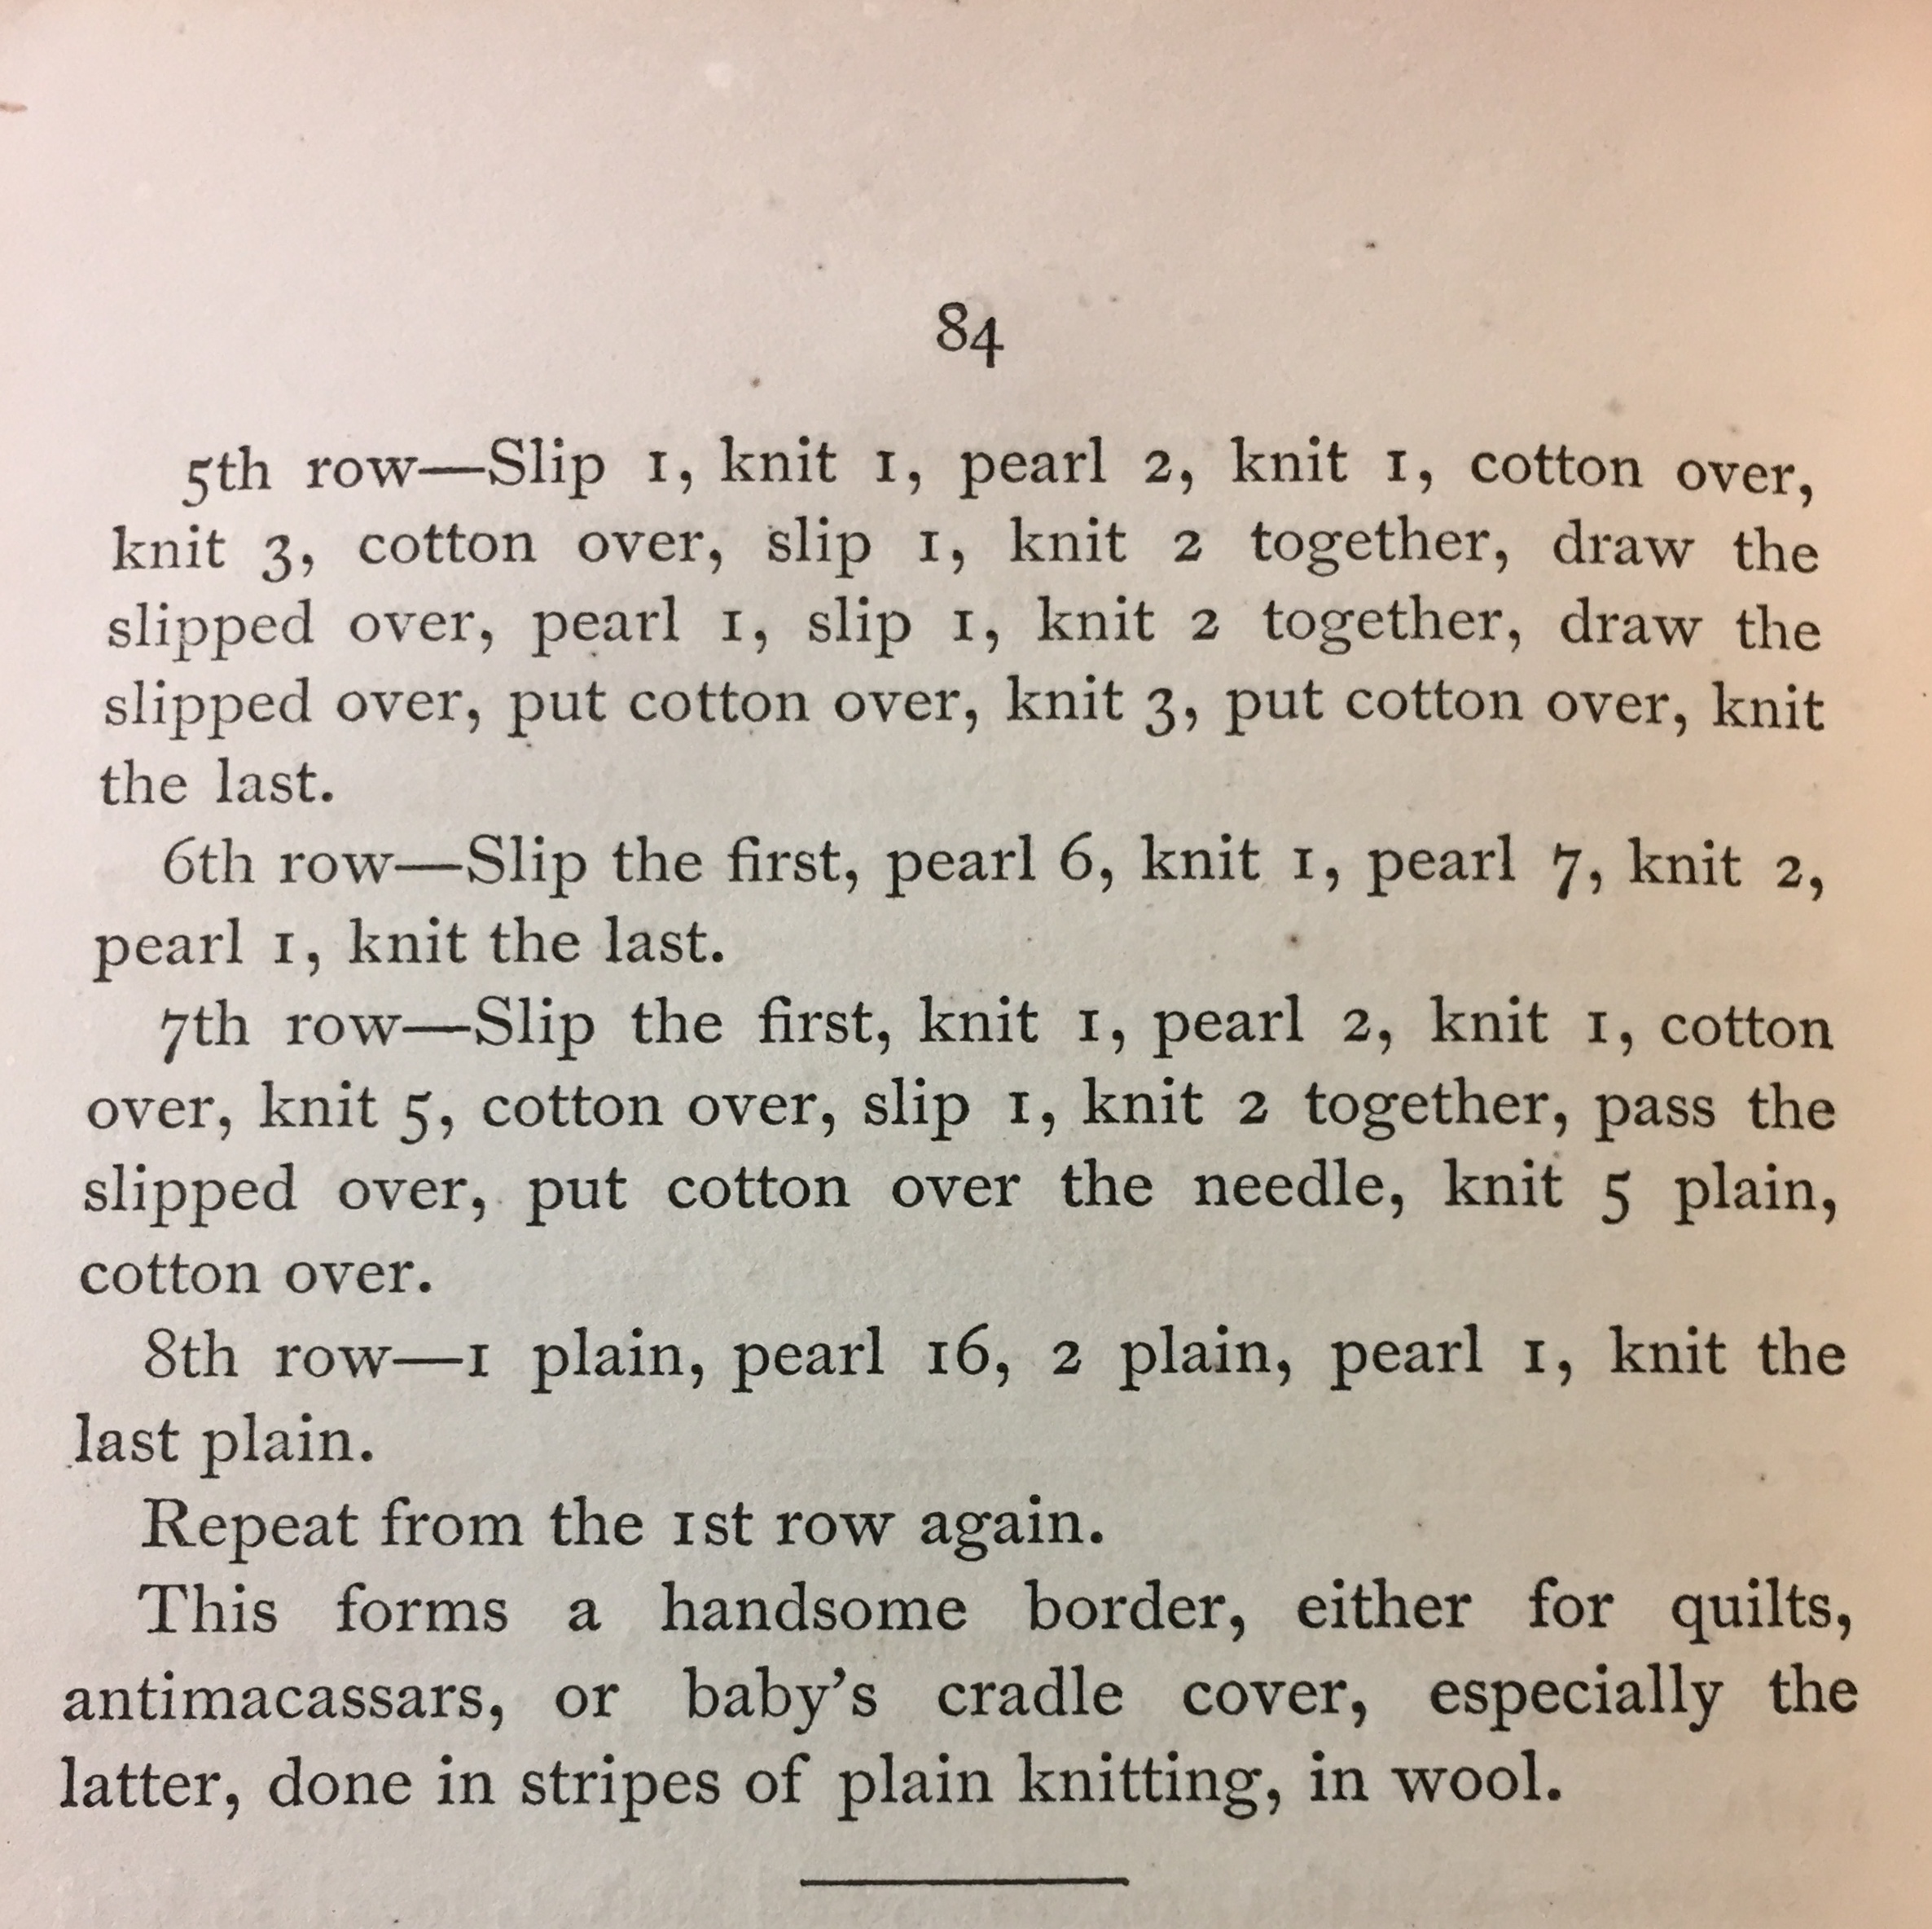
Here is how the pattern is written.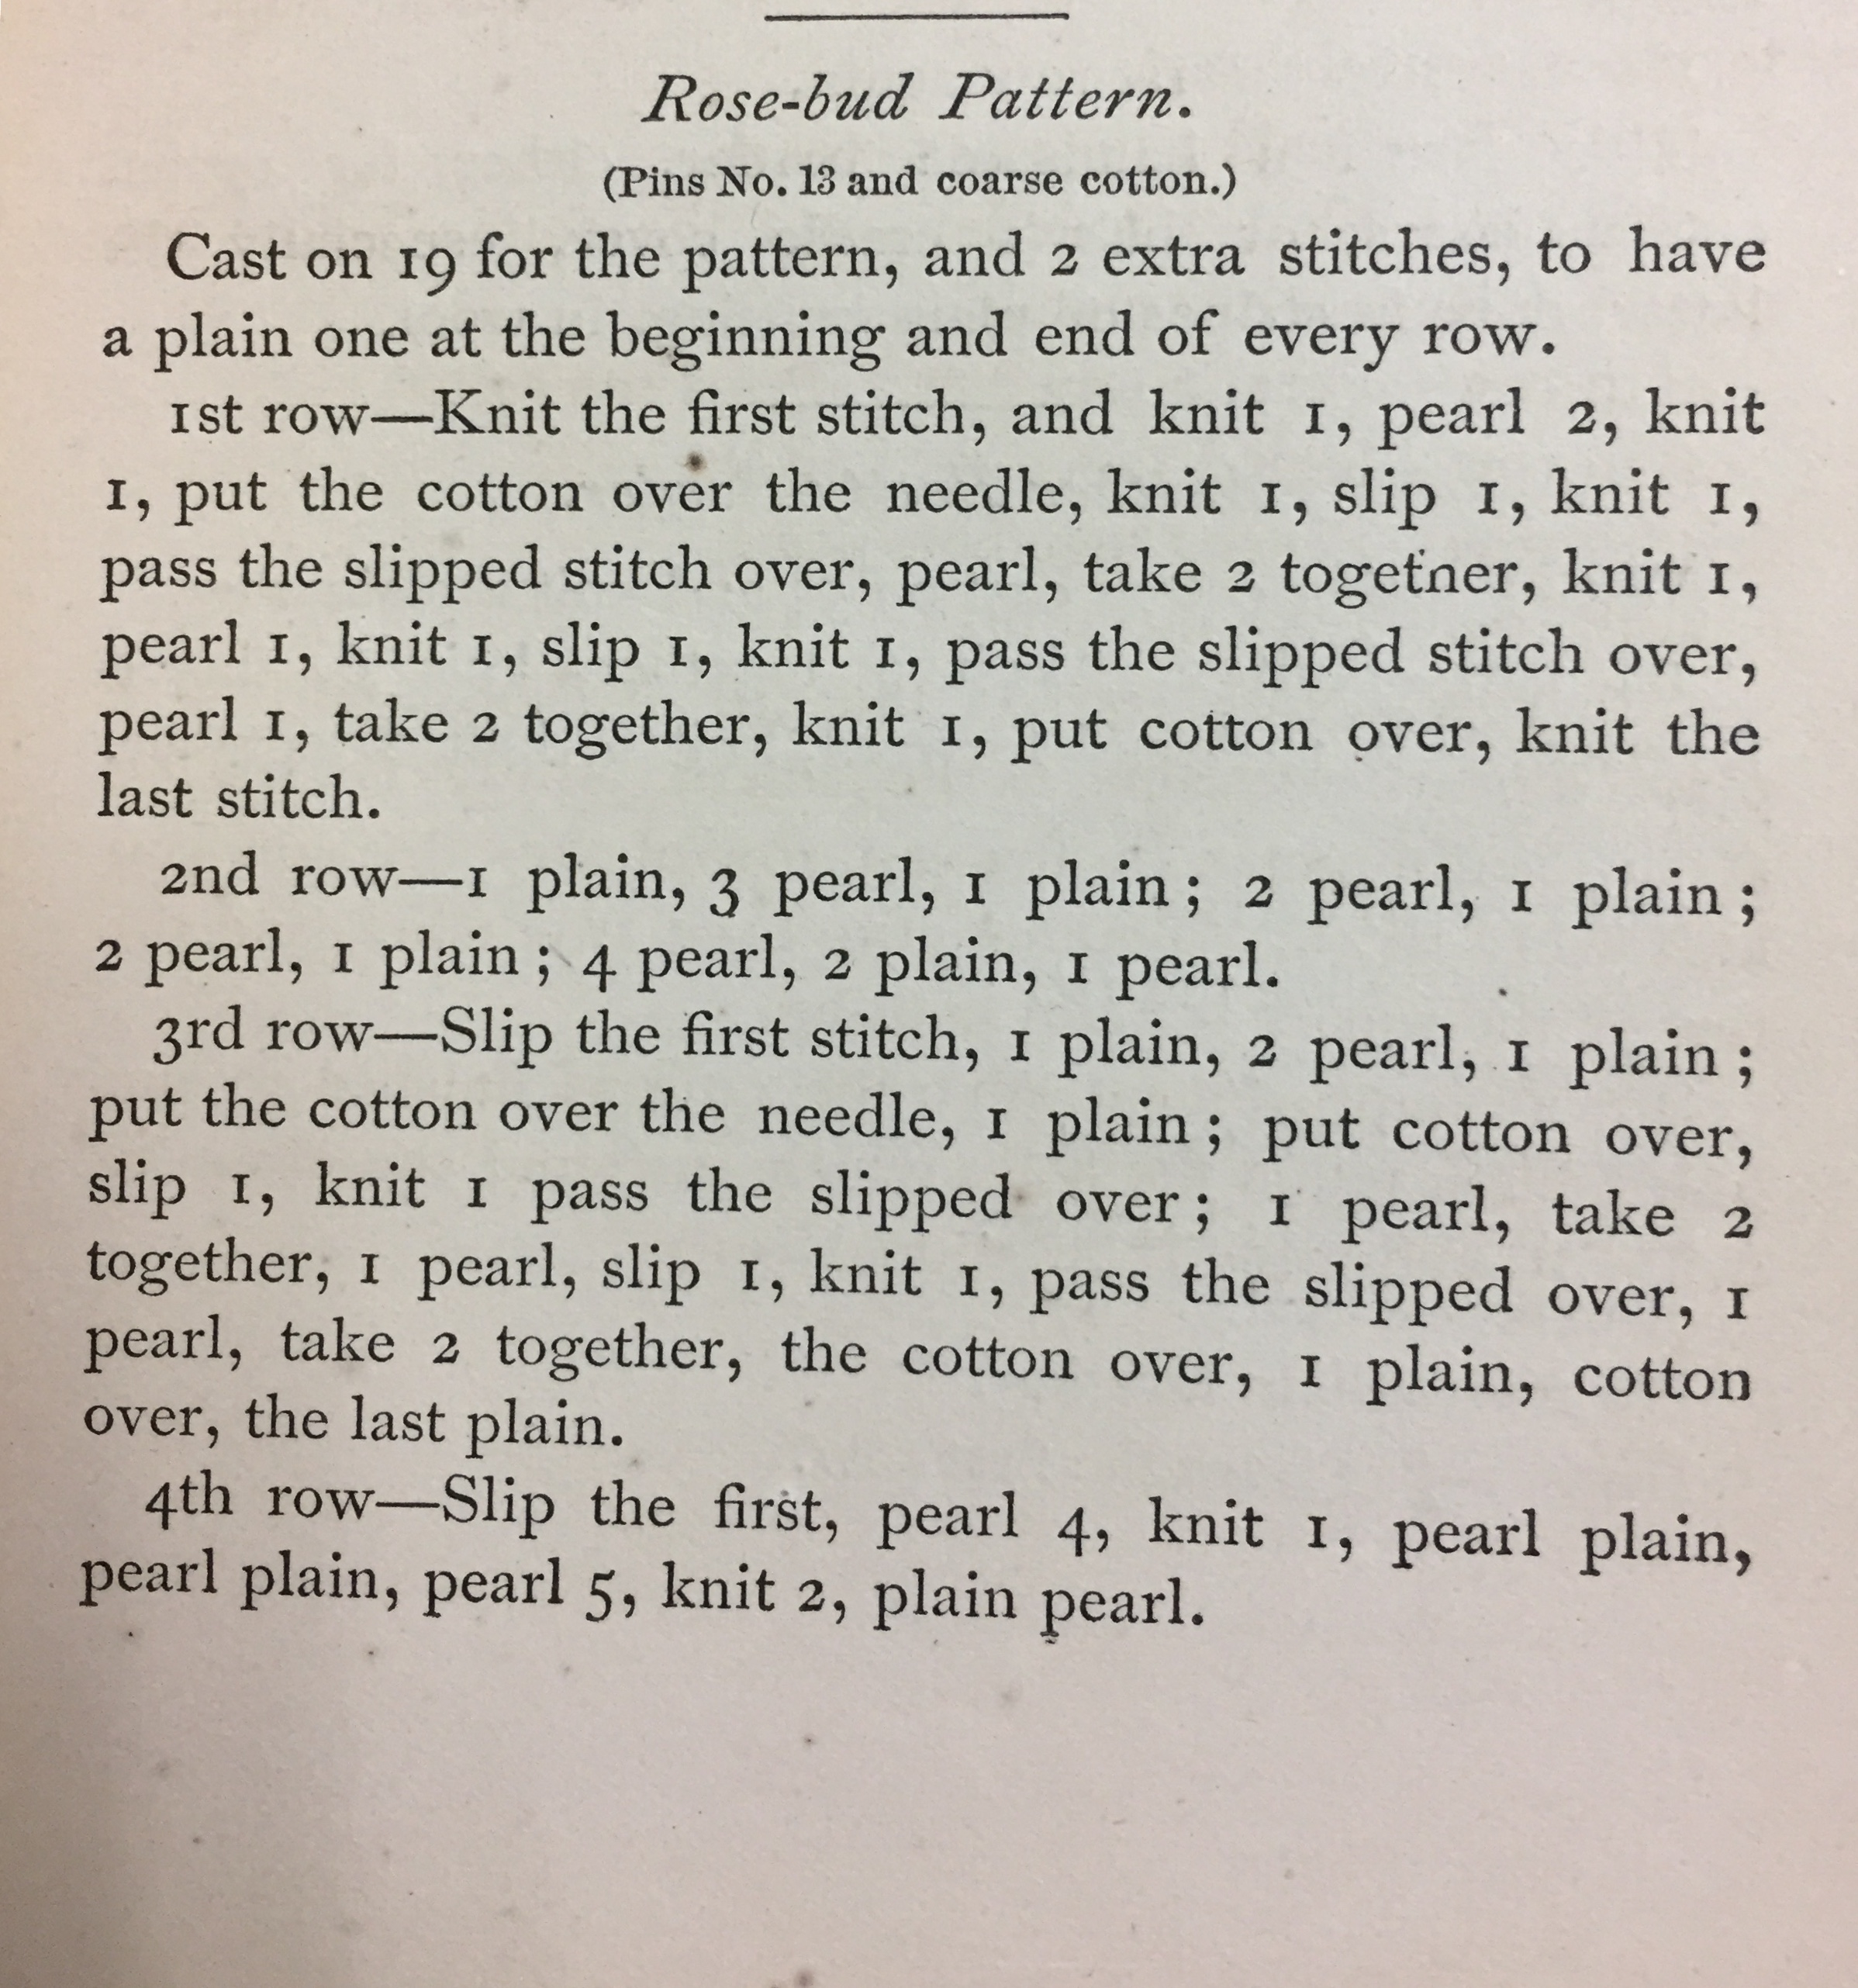
Here are my points of confusion.
- The instructions indicate 19 stitches for the pattern with 2 additional stitches for the edges. The first row accounts for all 21 stitches. By row two we are down to 19 stitches total with instructions for only 18 stitches and subsequent rows don’t all begin and end with a plain. So…????
- What’s going with the punctuation? Does it have any sort of significance or is the author just using semicolons or commas interchangeably without reason?
- What about those rows that only tell you what to do with 18 of the stitches? Do I have an extra stitch? Do I just assume it ends on a plain because of that note at the beginning? Do I turn my work leaving the last stitch behind?
- Is there a difference between a knit and a plain stitch? If yes, what? If not, why mix and match in one pattern? (Note: My research into historic knitting needle sizes revealed that a knit and a plain are, in fact, the same thing)
- Sometimes the word comes first (i.e. Knit 1), sometimes the number comes first (i.e. 3 pearls) and sometimes there are no numbers at all.
- Did the author just abandon punctuation entirely toward the end? Or is a pearl plain and a plain pearl something I am supposed to know?
- To complete row 8, I tried ending the pattern on a pearl plain rather than a plain pearl and it seemed to fit in with the pattern much better. Typo or style choice? The world may never know.
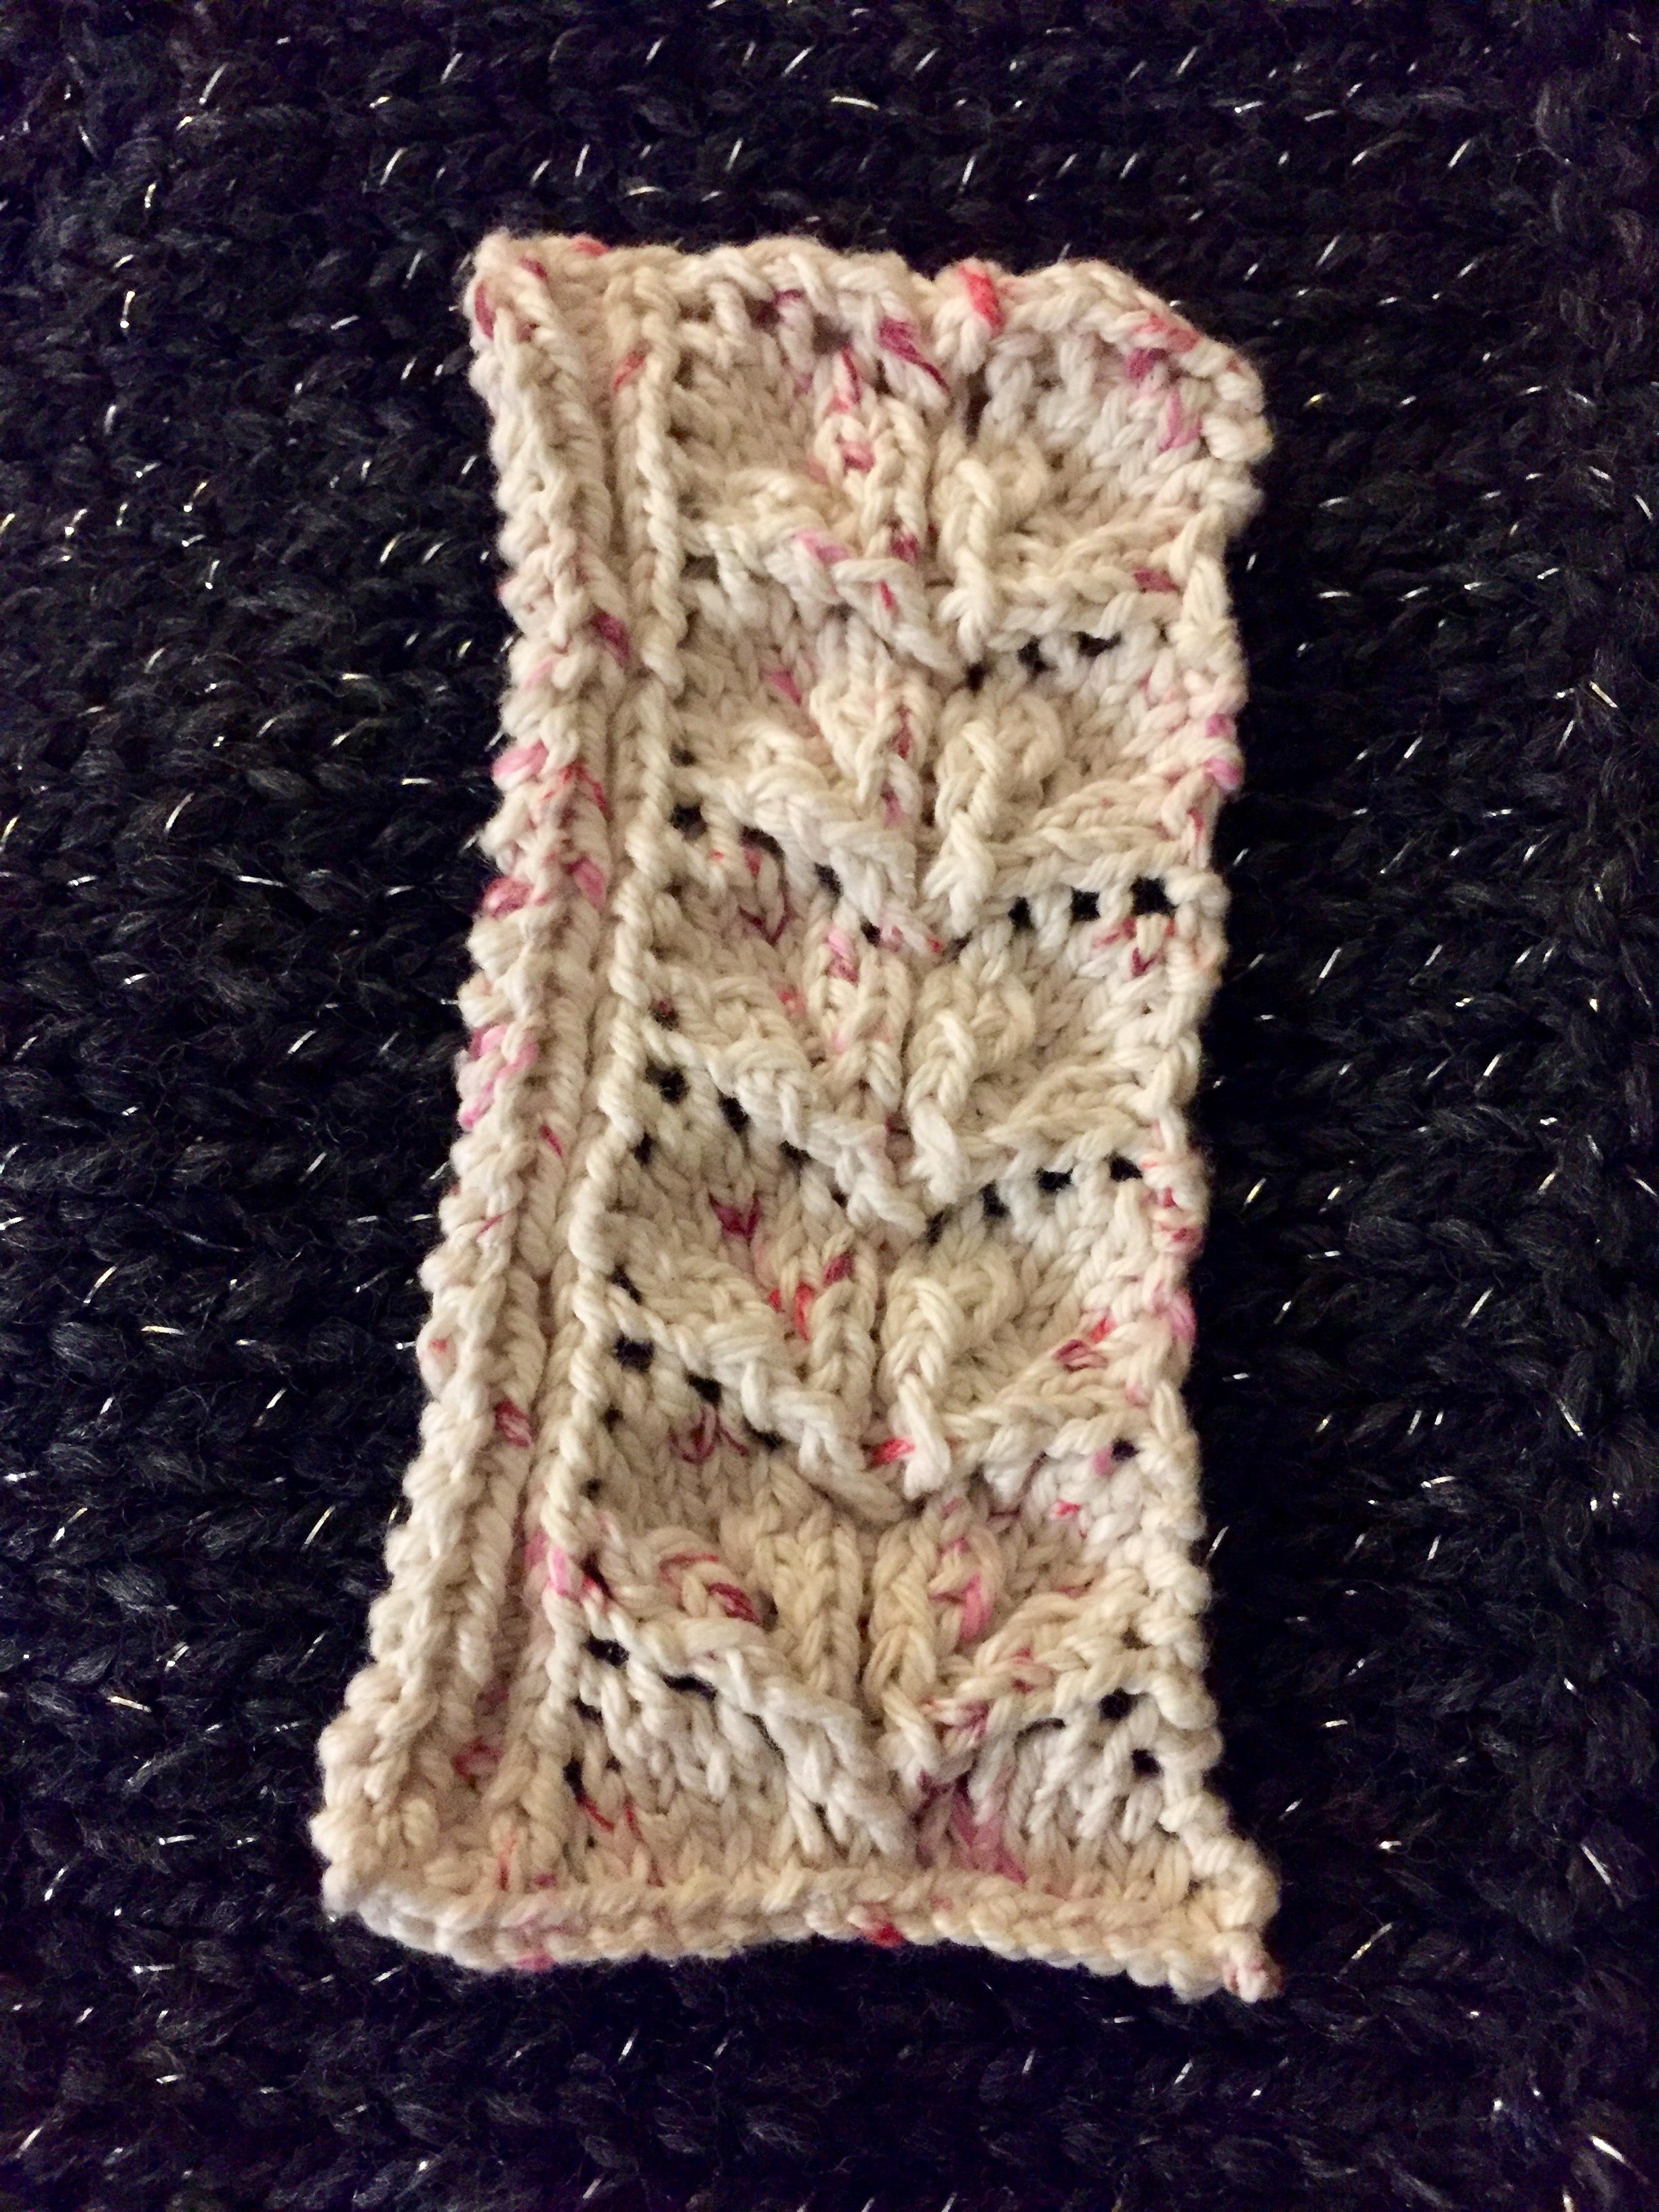
So how did it go? Well, I did my best but I am not completely confident in my result.
Did I do it correctly? Maybe. I ultimately decided that when the last stitch in a row did not have specific instructions I would knit a plain stitch. The pattern is supposed to create an edge, so perhaps the left side is for attaching to the rest of a work? And the right side sort of looks like rosebuds, if you look at it the way you would look at a magic eye poster (squinty and with your head at an angle—maybe try standing a little farther back).
I invite all the readers to give this pattern a try and see if you come up with anything different or can determine where I may have gone astray. It is entirely possible (i.e. likely) that I misinterpreted something due to the limitations of my modern visual learning style.
Bethany, props for being a thorough historian! I’m a genealogist and put a lot of vivid imagination into living with the finer details of a long-gone era, but you put your money where your fingers are. Extra points for ignoring that Google/Pinterest/YouTube is the new grandmother.
Thank you, Beth. It was certainly a fun challenge!
Ooooh, a challenge!
I love this! I recently bought a digital copy of a “pattern” for a one-hour easy dress from the 1920s. I have read it through and while I am an experienced sewer, I know there are some places in the process I will just have to wing it! You’ve inspired me to document my journey. I’m sure there will be moments of teeth-gritting frustration as well as some belly laughs as I try to think like a woman of 100 years ago.
Heh. I’ve taken a class on the one-hour dress, and the key thing is getting the side gathers or pleats in. You basically make a horizontal fisheye dart on the hips, with the side gathers/pleats tucked into the fisheye. The other key thing is to make a muslin of the top and have somebody pin a becoming shoulder line for you into it. It’s one more seam, but you get a much better fit on most figures.
And yes, Bethany, the left edge is for attaching to the crib blanket/whatever. I guess (no knowledge) that you must butt the ends together at corners, unless a practiced knitter would automatically know how to miter the pattern.
Thanks for those tips! I will keep those in mind as I get into the project.
One more tip: My instructors, who have made LOTS of One-Hour Dresses, say it takes an hour only if you’ve got a premade pattern (drafted according to the rules, then saved from dress to dress), the fabric is already washed and ironed, and you’re good at applying bias binding. Your first one will definitely not take an hour.
Marta, how fun! I love how all these patterns seem to be described as “easy” – almost as if to lure in the unsuspecting modern crafter. Best of luck with your sewing!
Thank you for confirming my suspicion, Madame Hardy! Perhaps next I’ll try attaching it to something and see how that plays out.
Just love this piece, Bethany — I will give it a try — and, share it with my Thursday afternoon knitting group, where many of the knitters are far more expert than I am. I will let you know how we make out. I am fascinated by what you found out about the 1950’s shift in needle sizing! I have tons of very old pattern books gathered at yard sales and in antique shops over the course of many years — now that I am finally semi-retired, I’ve been hoping to dive in — I would have been beside myself with confusion if not for your fascinating article. Thank you!!!!
Thank you very much, Maureen! I’m glad the insights I gleaned from this adventure can potentially help other knitters along the way. Please do share the results you and your knitting group come up with – I look forward to hearing how it turns out!
I tried just going with the changing stitch count since it returned to the original at the end. Doing that left, I think, just two errors, one an omission of a stitch and two flipped stitches. I tweaked the edge stitches for consistency.
1. S1 P2 K1 yo K1 S1 K1 psso (pass slip stitch over) P1 K2tog K1 P1 K1 S1 K1 psso P1 K2tog K1 yo K1
2. K1 P3 K1 P2 K1 P2 K1 P4 K2 P1 K1
3. S1 K1 P2 K1 yo K1 yo S1 K1 psso P1 K2Tog P1 S1 K1 psso P1 K2tog YO K1 YO K1
4. S1 P4 K1 P1 K1 P1 K1 P5 K2 P1 K1
5. S1 K1 P2 K1 YO K3 YP S1 K2tog psso P1 S1 K2tog psso yo K3 yo K1
6. K1 P6 K1 P7 K2 P1 K
7. S1 K1 P2 K1 yo K5 yo S1 K2tog psso yo K5 yo K
8. K1 P16 K2 P1 K1
(hopefully I typed that better than 19th century typesetters managed)
“Coarse cotton” was probably finer than the modern knitter expects. A bigger size difference between the yarn and needle gives more definition. The header on this is unusual, usually when there is a header of more than a stitch or two it’s faggoting. A picture of mine (you probably need to copy & paste that) https://www.facebook.com/photo.php?fbid=10156919453773840&set=a.38385103839.46539.530483839&type=3&theater
Oh, isn’t that lovely! Thank you for doing the work.
Wow!!!! Fabulous!
Wow, Beth that came out lovely! Thanks so much for sharing and for your work on the pattern. Good tip about the smaller yarn size increasing definition – I had wondered if the coarse cotton called for would have been a different weight.